
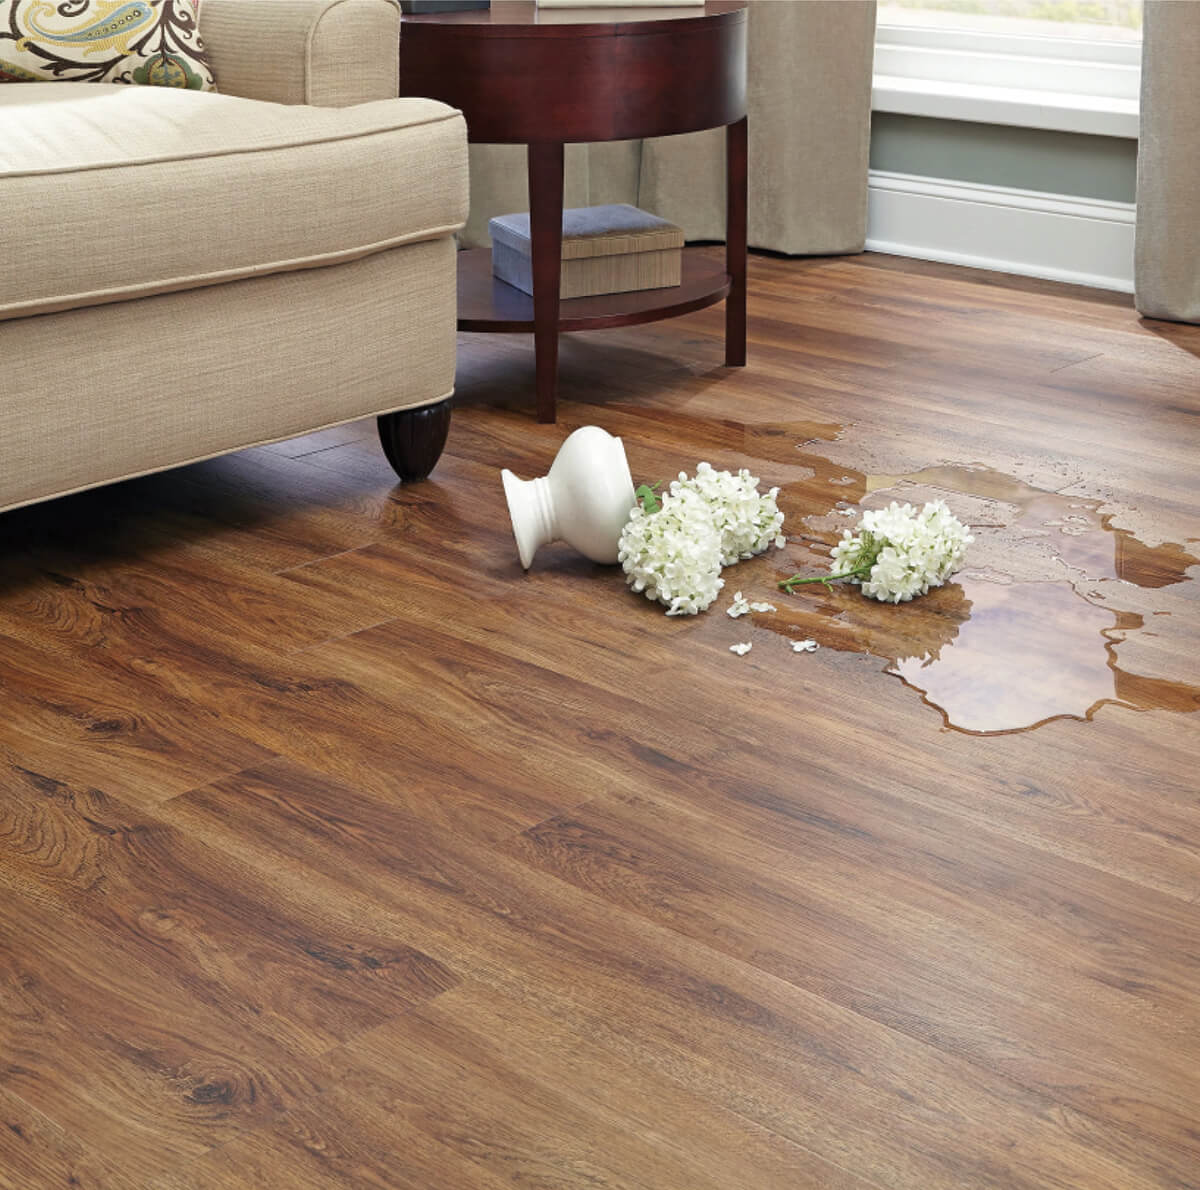
Our vinyl floorings are constructed with the patented Uniclic® tongue and groove design that locks the planks together to form a tight and durable joint that limits moisture from passing through the seams, can be installed over most floor surfaces, and suitable for both residential and light commercial interior applications. To assure satisfactory installation, please read all instructions before installing.

Make sure the sub-floor is flat, clean and dry. Any uneven areas greater than (3/16 inch in 10 feet) must be leveled with leveling compound.
The installation area is guaranteed with a maximum length and width of 10m (32.8 feet). T-molding is required for larger area.
Interior use only in a climate-controlled environment, not to be exposed to direct sunlight.
Keep records of levelness and moisture testing.
Acclimate vinyl planks at least 48 hours to room temperature (60° 85°F) and relative humidity between 30% – 55%.
Use humidifier to maintain relative humidity if needed. Avoid installation under very dry/ humid conditions, it is best to install when conditions are about the same as it will be most of the year.
DO NOT stack higher than ten cartons and DO NOT stack anything on top of uninstalled vinyl planks. DO NOT store the cartons directly on concrete, allow for air circulation.
Always carefully check flooring materials for any defects. Contact your supplier immediately if any defect is found.
Open several cartons and mix planks together to ensure a natural pattern upon installation.
Install all cabinets prior to installing flooring materials (DO NOT install on top of the floor).
Remove all furniture from the room, as well as existing quarter round, baseboard molding or cove base.
Inspect subfloor structure to be dry, clean, solid and flat. Any adhesive residue must be removed to ensure proper installation.
Undercut doorway moldings to be the thickness of the flooring. Check that the doors can still open and close after the floor and underlayment are installed (minimum +1cm (3/8″)).

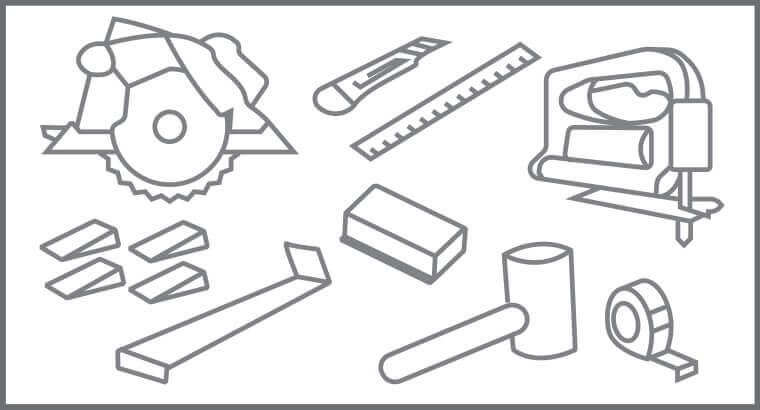
Carpenter square

utility knife

tape measure

pencil

long straight edge

chalk line

safety glasses

tapping block

pull bar
Make sure moisture vapor emissions does not exceed 5 lbs./24 hour per 1,000 sq. when tested with the Anhydrous Calcium Chloride Test in accordance with ASTM F 1869 or 85% RH in accordance with ASTM F 2170 “Standard Test Method for Determining Relative Humidity in Concrete Slabs using in situ Probes. Level uneven areas greater than 3/16” in a 10 feet. Holes and cracks in the cement must be patched, and expansion joints must be filled with a latex patching compound. Newly poured concrete floors must cure for a minimum of 90 days. Apply a 6 mils polyethylene moisture barrier before installation If the level of hydrostatic pressure is over 90% RH, or will be above 90% RH during the life of the slab. Please note it is the person installing the floor and/or the homeowner’s responsibility to ensure a smooth substrate and that any moisture or alkalinity issues are resolved prior to installing the floor. Once installed, it becomes the installer’s responsibility.
Must be solid and flat. Sand down high spots and fill low spots with leveling compound. Firmly fasten all loose boards and fill all gaps before installation.
DO NOT install vinyl planks over wood floors/ laminate laid directly on concrete or bitumen.
Must be solid and flat. Level grout lines with the width or depth of 3/16″ (5mm).
Must be removed.
Rigid Core Planks can be installed over in-floor radiant heating systems provided the subfloor surface does not exceed 85°F (29.44°C) at any point. The initial floor temperature should not exceed 70°F (21.11°C) for 48 hours prior, during, and after installation. Thereafter the temperature should be gradually increased to the desired setting up to 85°F (29.44°C). Because heat does aect plastic more than wood, you may need additional room for expansion (larger expansion gap) and contraction (wider base to allow for contraction) Radiant heating systems that are installed directly on top of the subfloor surface are not recommended.
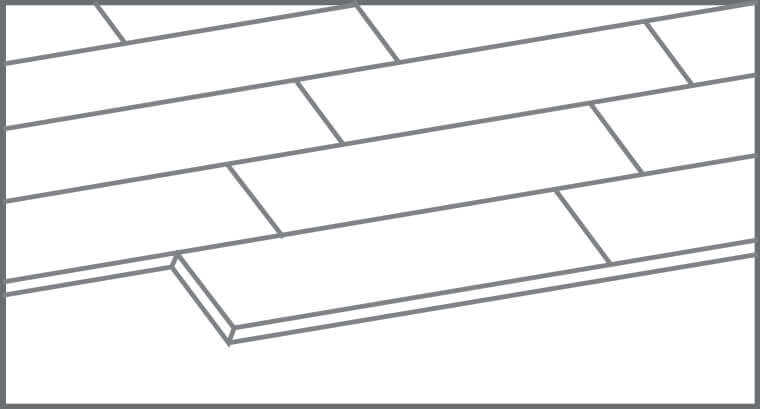
Begin installation parallel to the long dimension of the room, preferably parallel with the light sources (windows & doors). Snap a chalk line at the starting point to maintain alignment. Use planks mixed in from four or five cartons to achieve the ideal random pattern.
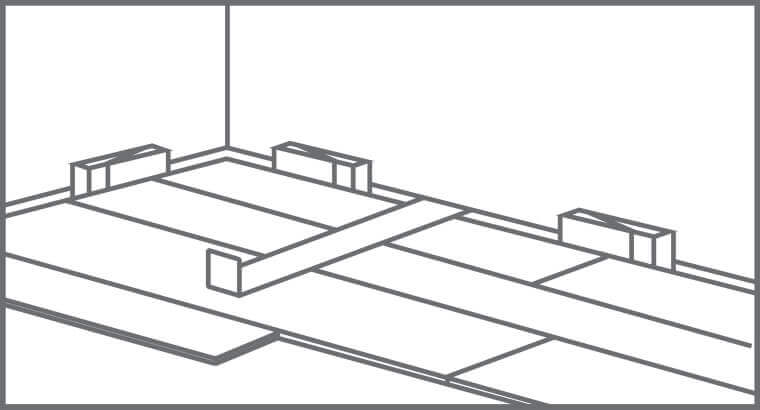
Tools needed: spacers, utility knife, tape measure, I-square and, if needed, a handsaw and tools for repair / preparation of the subfloor. The SPC floor is made to be installed floating without being glued or nailed down: use the Spacing wedges to leave an open
expansion space of about 8 mm around the perimeter and any fixed objects. The floor must be able to move freely – do not connect or install securely to any part of the building. Measure the area where the floor will be installed, making sure to consider the perimeter
expansion space of 8mm, and decide the direction for installation.It is recommended to install the slats along the length direction of the boards, parallel to the Main direction of light. In narrow corridors, install the floor parallel to the long side.
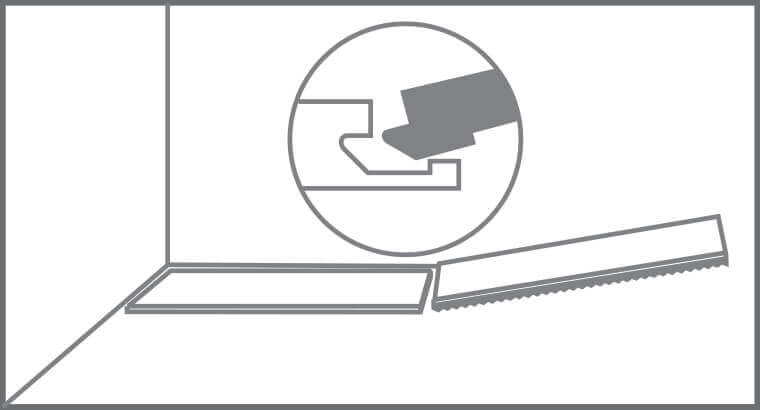
Start laying the floor in the left corner. Place an 8 mm spacer against the left wall and position the board against the spacer with the groove side exposed. Press the next plank into a corner so that the short side tab lines up with the short side groove of the first plank. Then lay it down. Continue the first line
like this. At the end of the first row, place an 8 mm spacer against the wall and measure the distance to get the length needed for the last plank. To cut, align a square (with an L-shaped right angle) to the edge at the mark where you would like to cut Make a mark along the edge of the L-square to
“mark” the board. Then cut along the line with a blade / saw to separate Into two pieces. For the installation of the second row it is recommended to start with a board with a length equal to 2/3 of its extension.
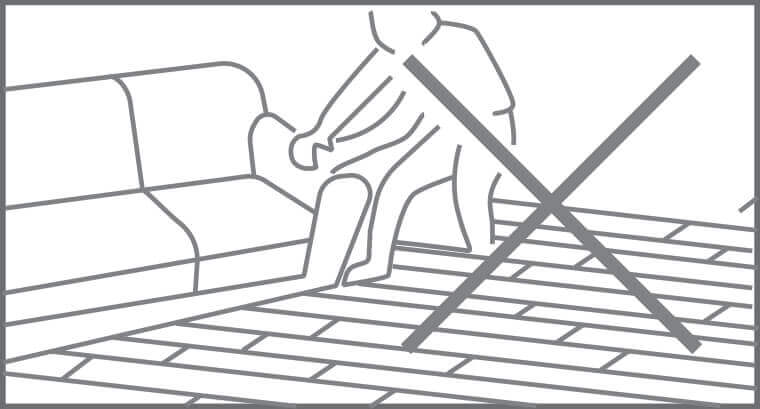
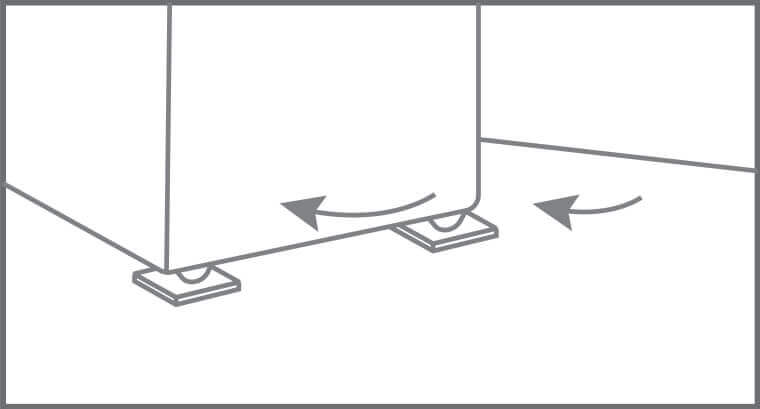
After being laid, the floor needs a final cleaning before arranging the furniture. Wipe surface with a damp cloth, warm water and natural detergent. It is not recommended to drag heavy objects on
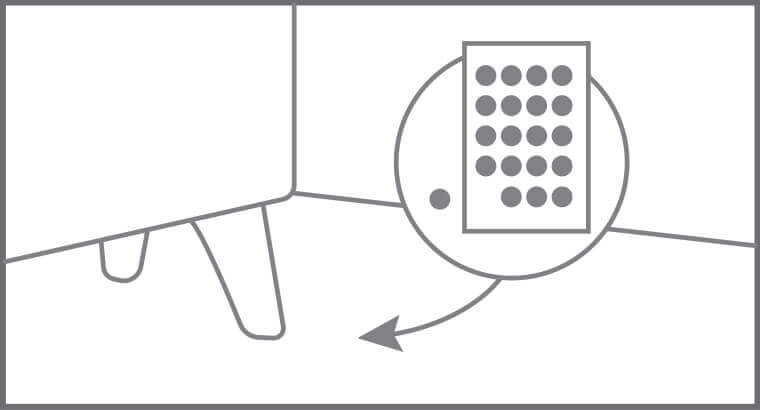
the newly laid surfaces, especially without the use of a special felt pads. To clean SPC vinyl surfaces daily, just treat the floor like any other, sweeping it with a broom or vacuum cleaner.
frequently and working it normally. It will not be treated like real wood: do not use dust-catching detergents or special waxes, as they will have no effect on the surface.
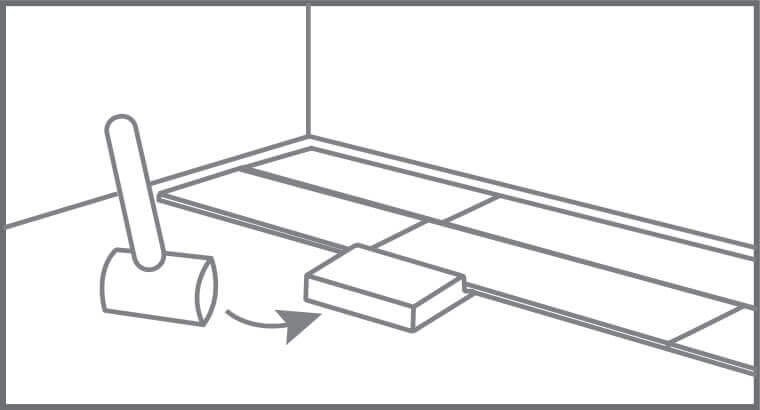
When sawing the panels, ensure the expansion joint under the door at least 10mm (3/8″). If you cannot lift the panel, use an adapted tapping block or pull bar and hammer to tap the panels together with the planks flat on the floor.
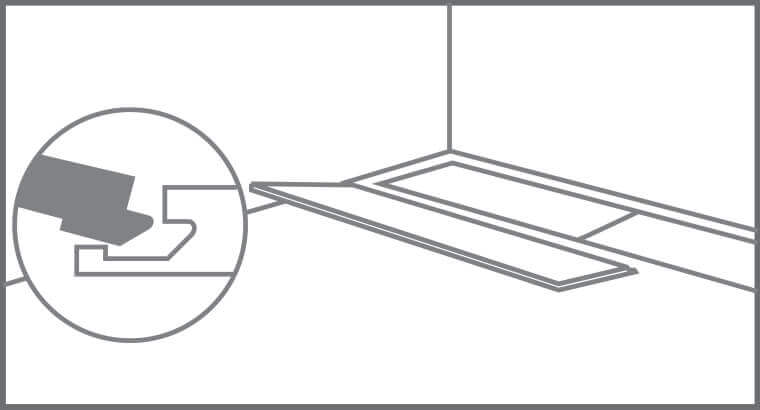
When fitting around door trim it will be necessary to slide the plank under the trim. This can be accomplished easily by starting the row on the side of the room with the door trim and then sliding the plank into place once it is attached. The row can be completed by inserting the tongue onto the groove or the groove under the tongue depending on the direction. A tapping block and pull bar can also be used to lock the joints together while the planks are in a flat position. Use a series of light taps until the joint is gradually locked together.

PLANKTON FLOORS ©2026 | All Rights Reserved Designed by![]()


